
Tired of looking at worn-out carpet, scratched tile, or that outdated vinyl in your home? You are not alone. Millions of homeowners tackle floor projects every year, and the good news is you do not need a pro crew or a massive budget to get stunning results. Click-lock systems have revolutionized DIY flooring, letting beginners install beautiful, durable floors over a weekend without glue, nails, or special skills.
In this DIY flooring options compared guide, we break down the top choices for 2026: Luxury Vinyl Plank (LVP), laminate, engineered hardwood, and sheet vinyl. You will see exactly which option fits your rooms, budget, lifestyle, and skill level. Whether you need 100 percent waterproof floors for the kitchen or an affordable wood-look upgrade for the living room, this comparison delivers clear answers backed by real-world performance, current pricing, and expert insights. Let’s help you choose the perfect DIY flooring and transform your space without the stress.
Why DIY Flooring Makes Sense in 2026
Home renovation costs keep climbing, but smart homeowners save thousands by going the DIY route on flooring. Click-lock technology means you simply drop, lock, and tap planks into place. No messy adhesives. No heavy tools. And you can often install right over your existing flat floor, cutting prep time dramatically.
The biggest perk? Control. You pick the exact style, color, and performance features your family needs. Modern options look more realistic than ever, with embossed textures that mimic real wood grain or stone. Plus, many come with attached underlayment for better sound control and comfort underfoot.
Before you head to the store, compare your top contenders. The right choice depends on traffic level, moisture exposure, pets, kids, and whether you want something that feels warm like real wood or stays cool and tough like vinyl. We will cover it all below, including costs updated for 2026, pros, cons, and room-by-room recommendations.
DIY Flooring Comparison Table
Here is a quick side-by-side look at the leading DIY-friendly options. Prices reflect 2026 material costs per square foot from major retailers and reflect typical mid-range quality suitable for homeowners.
| Flooring Type | Best For | Ease of DIY | Approx. Material Cost (per sq. ft.) | Key Benefit |
|---|---|---|---|---|
| Luxury Vinyl Plank (LVP) | Bathrooms, Kitchens, Basements | Very Easy (Click-Lock) | $2 – $7 | 100% Waterproof; extremely durable |
| Laminate | Bedrooms, Living Rooms, High Traffic | Very Easy (Click-Lock) | $1 – $5 | Most affordable; realistic wood look & feel |
| Engineered Hardwood | Resale Value, Main Living Areas | Moderate (Floating/Glue) | $3 – $14 | Real wood surface; can sometimes be refinished |
| Sheet Vinyl | Budget Projects, Laundry Rooms | Moderate (Tricky cutting) | $0.50 – $2 | Seamless; most cost-effective for large areas |
This table gives you the big picture at a glance. Now let us dive deeper into each type so you can decide which one feels right for your project.
Luxury Vinyl Plank (LVP): The Waterproof Champion for Busy Homes
LVP tops the list for most DIYers in 2026, and for good reason. It uses a rigid core (often stone-plastic composite or SPC) topped with a photographic layer and a tough wear layer. The result looks and feels like wood or stone but handles water, pets, and heavy foot traffic like a champ.
Pros
- 100 percent waterproof, so spills, leaks, or even standing water will not damage it.
- Extremely durable against pet claws, furniture scratches, and daily wear.
- Easy to clean with just a damp mop.
- Installs over almost any flat surface, including concrete or old tile.
- Quiet and comfortable underfoot with attached padding on many styles.
Cons
- Cannot be refinished like real wood.
- Cheaper planks may have thinner locking edges that can break if forced.
- Some lower-end options feel slightly hollow or less premium underfoot.
LVP shines in moisture-prone areas. Kitchens, bathrooms, basements, and mudrooms love it. Families with dogs or toddlers pick LVP because it stands up to claws, spills, and constant cleaning without warping. In 2026, newer rigid-core versions offer even better stability and realistic embossed-in-register textures that make the planks feel authentic.
If resale value matters, LVP still delivers strong appeal because buyers love low-maintenance, waterproof floors. Just steer clear of the thinnest budget planks for high-traffic zones.
Laminate Flooring: Budget-Friendly Realism with Scratch Resistance
Laminate often wins the “easiest for beginners” award. These planks feature a photographic image of wood sealed under a super-hard wear layer rated by AC numbers (AC3 for moderate traffic, AC4-AC5 for high-traffic homes).
Pros
- Lowest material cost among quality options.
- Highly scratch-resistant and does not fade in sunlight.
- Realistic wood visuals that fool most guests.
- Click-lock installation is fast and forgiving for new DIYers.
- Pre-attached underlayment on many products reduces noise.
Cons
- Seams can swell if water sits too long (not fully waterproof like LVP).
- Can sound hollow without quality underlayment.
- Cannot be refinished.
Modern 2026 laminates have improved dramatically. Many now boast enhanced water resistance at the edges, making them viable for kitchens and dining areas where spills happen. Homeowners in high-traffic living rooms or hallways love laminate because it handles kids, pets, and furniture movement better than its price suggests.
Pro tip: Choose AC4 or AC5 ratings for busy households. Pair it with thick underlayment for a solid, quiet feel that rivals more expensive floors.
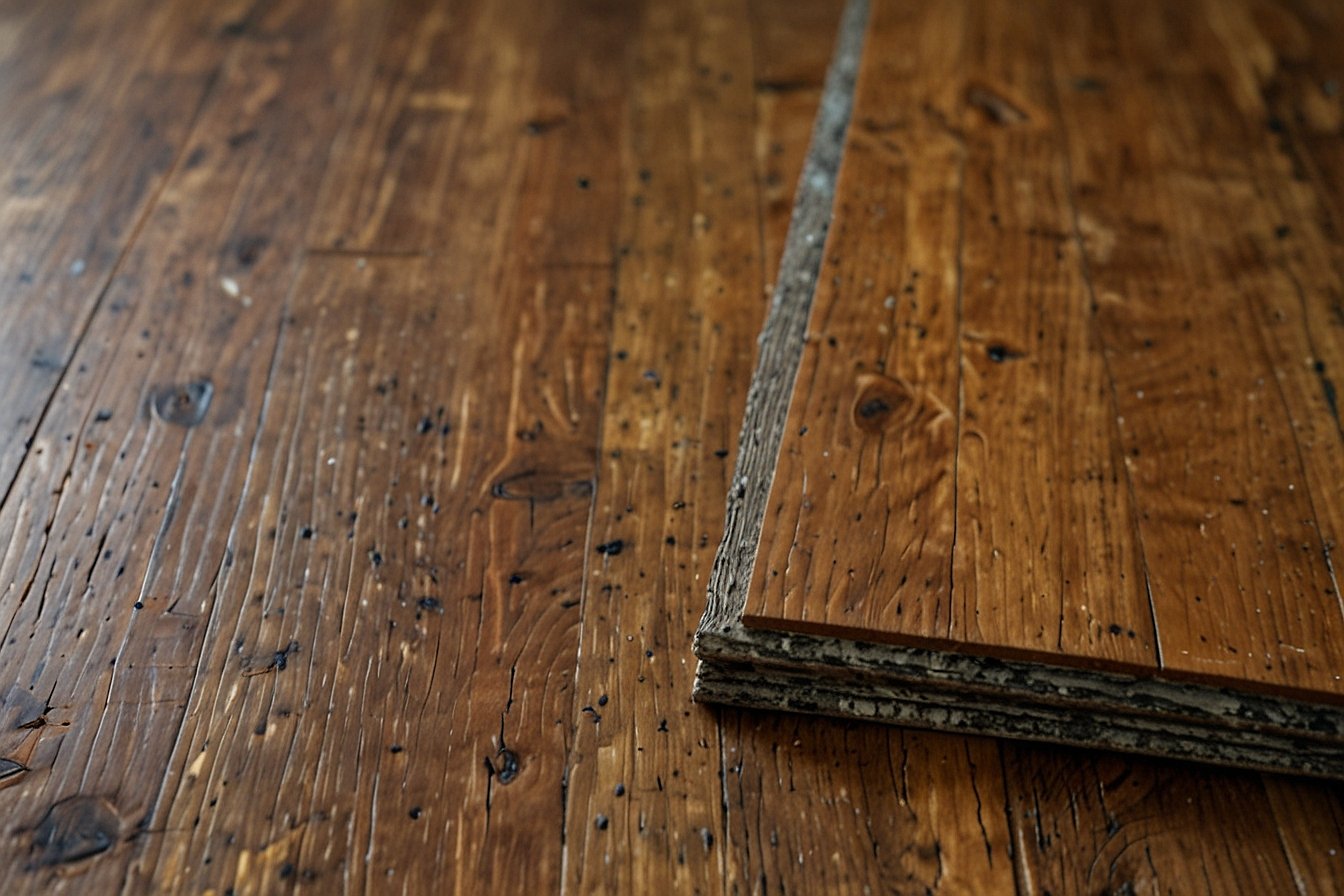
Engineered Hardwood: Real Wood Warmth with Some DIY Effort
Want that genuine wood look and feel without the full cost or maintenance of solid hardwood? Engineered hardwood delivers a thin real-wood veneer bonded to a stable plywood or composite core. Some versions use click-lock systems, while others require glue or staples.
Pros
- Authentic wood surface that feels warm and natural.
- Adds real resale value to your home.
- Some thicker veneers (2mm+) can be lightly sanded and refinished once.
- More stable than solid hardwood in changing humidity.
Cons
- Higher price than LVP or laminate.
- Less moisture-resistant overall (avoid basements or bathrooms unless specially treated).
- Installation moves into the moderate category for many DIYers.
Engineered hardwood suits main living areas, bedrooms, and dining rooms where you want premium appeal. It works especially well if you plan to sell soon. Many homeowners choose floating click-lock versions to keep the project DIY-friendly. Just remember to acclimate the planks for 48 hours and ensure your subfloor stays perfectly level.
Sheet Vinyl: The Ultra-Budget Seamless Solution
For tight budgets or utility spaces, sheet vinyl remains a strong contender. Sold in wide rolls, it creates a completely seamless floor that resists water and stains.
Pros
- Lowest cost per square foot.
- Truly seamless, ideal for laundry rooms or basements.
- Highly durable and easy to wipe clean.
Cons
- Installation requires more skill (cutting around obstacles can be tricky).
- Limited style options compared to planks.
- Usually needs adhesive or special tape for large areas.
Sheet vinyl suits renters, utility rooms, or anyone prioritizing function over fashion. Newer patterns in 2026 mimic wood and stone better than ever, but it still lacks the premium look of LVP or laminate.
Step-by-Step Guide to Installing Click-Lock DIY Flooring
Both LVP and laminate use the same simple click-lock process. Here is how to do it right the first time.
- Acclimate the flooring in your home for at least 48 hours so it adjusts to temperature and humidity.
- Prepare the subfloor: sweep, vacuum, and level any high spots. It must be flat, clean, and dry.
- Roll out underlayment (or use planks with attached padding).
- Start along the longest wall. Leave a 1/4-inch expansion gap using spacers.
- Click the first row together, tapping gently with a rubber mallet and tapping block.
- Stagger seams by at least 12 inches on each row for a natural look.
- Cut end pieces with a utility knife (for LVP) or laminate cutter. For tricky cuts around doorways or vents, use a jigsaw.
- Continue across the room, checking alignment often.
- Install transition strips where the new floor meets other surfaces.
The entire process for a typical 200-square-foot room takes one or two weekends for most beginners. Watch free online videos from major brands for visual help.
Room-by-Room Recommendations
Match the floor to the space for best results.
- Kitchens and bathrooms: Go with LVP for full waterproof protection.
- Living rooms and bedrooms: Laminate or engineered hardwood deliver the warm wood look at different price points.
- Basements: LVP or sheet vinyl handle potential moisture best.
- High-traffic hallways: Laminate with high AC ratings stands up to constant use.
Full Cost Breakdown and Tools You Need
Material costs make up the bulk of your budget, but factor in underlayment ($0.50-$1 per sq. ft.), transitions, and baseboards if replacing them. Professional installation adds $2-$6 per square foot, but true DIYers skip that entirely.
Basic tools for click-lock projects:
- Utility knife or laminate cutter
- Rubber mallet and tapping block
- Spacers and pull bar
- Measuring tape and square
- Optional: jigsaw for complex cuts
Total project cost for 500 square feet of mid-range LVP might run $1,500-$4,000 including extras, versus $800-$2,500 for laminate. Huge savings compared to pro hardwood or tile jobs.
Common DIY Flooring Mistakes to Avoid
Even easy click-lock systems can go wrong without these tips:
- Skipping subfloor prep leads to bouncy or gapped floors.
- Forcing planks together breaks the locking tabs.
- Ignoring the expansion gap causes buckling in summer heat.
- Installing over uneven or wet concrete ruins any floor.
- Not staggering seams creates weak lines that wear faster.
- Choosing the wrong AC rating or wear layer for your traffic level shortens lifespan.
Take time on prep and you will enjoy your new floors for decades.
Maintenance Tips to Keep Floors Looking New
All these options stay low-maintenance, but simple habits matter. Sweep or vacuum regularly. Use felt pads on furniture legs. Wipe spills immediately on laminate. For LVP, a quick damp mop works wonders. Avoid harsh chemicals or steam mops that can damage the wear layer.
Final Thoughts on Choosing Your DIY Flooring
Comparing DIY flooring options shows that LVP wins for wet areas and durability while laminate offers unbeatable value and a wood-like appearance. Engineered hardwood brings premium warmth, and sheet vinyl stretches your budget in utility spaces. Consider your room needs, lifestyle, and budget first, then pick the click-lock system that matches.
Ready to start your project? Head to your local home center, measure carefully, and order a few extra boxes for cuts and future repairs. With the right choice and a bit of weekend effort, you will enjoy beautiful, worry-free floors that boost your home’s comfort and value for years to come. Happy installing!
READ ALSO: Types of Flooring Materials: A Complete Guide for 2026